After replacing the tongue and groove cladding at the top of the left-hand end of the stables in October 2023, the next stage in the stables renovation was to replace the old shiplap cladding on this end of the stables. We did this over the Christmas 2023 holidays, in the week between Christmas and the New Year.
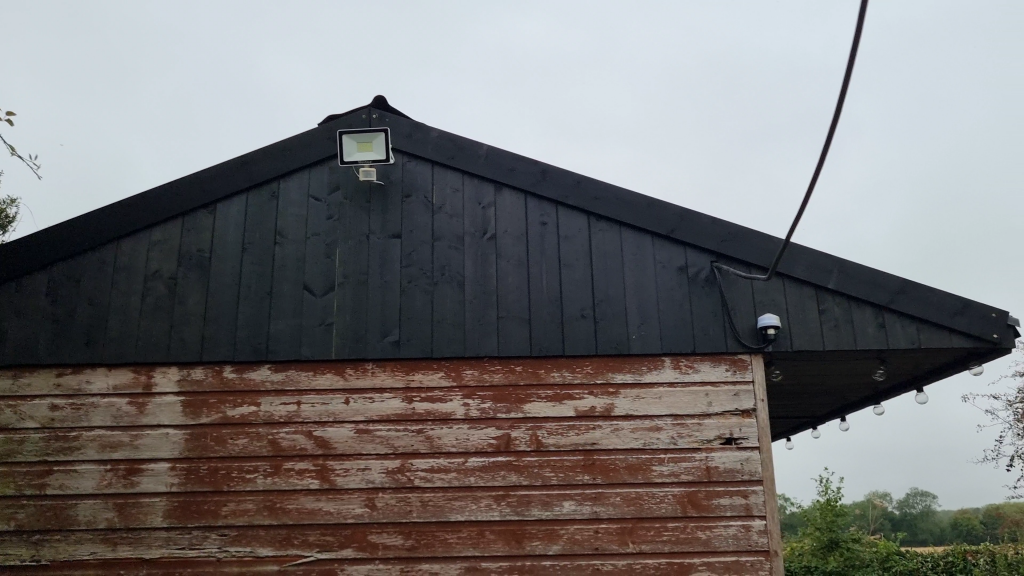
Painting the new cladding
The first task was to cut the new shiplap cladding to the correct length and give it two coats of the same black paint that we used for the tongue and groove.
Removing the old shiplap cladding
The next step was to get our demolition gear out and remove all of the old shiplap cladding. This was a fairly easy task as the rows consisted of single lengths of shiplap, so we just needed to remove the nails where they were attached to the framing. The only difficult parts were the left hand end where some of the cladding was so rotten that it just disintegrated when trying to remove the nails.
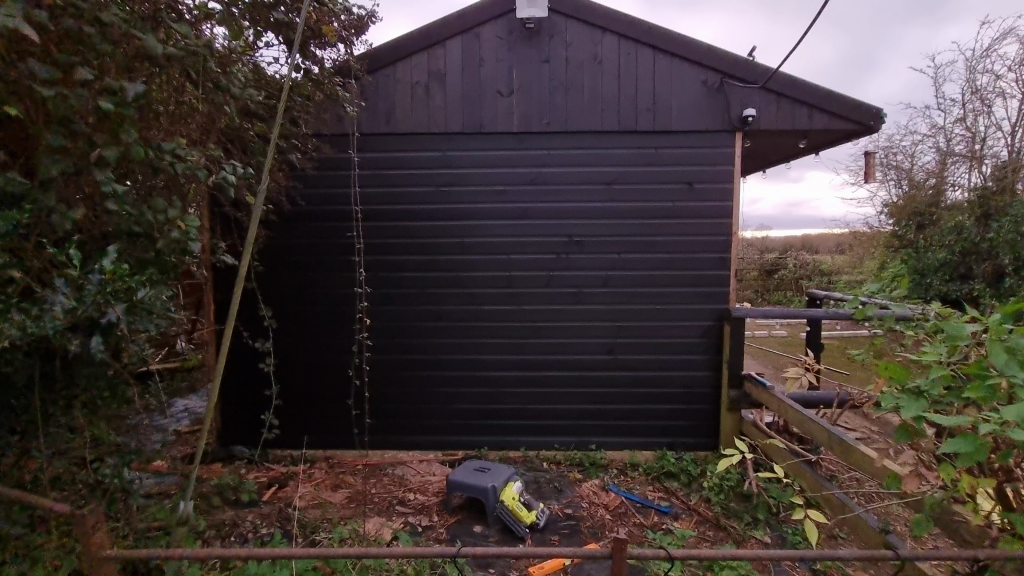
Fitting the new cladding
With all of the old cladding removed, it was time to start fitting the new cladding, which was a very quick task using my Ryobi One+ nail gun. The only complicated part was the final length of cladding at the bottom, which had to be ripped to the correct width.
Once all the cladding was fitted, the final task was to drill a hole in the cladding to use for an electrical cable for our Christmas decoration. This hole is plugged with a rubber grommet when the decoration is removed and eventually, when we re-do the electricals in the building, we plan to install an external socket here.
You can see the entire process of this part of the classing in the video below.
Next steps
With this end of the stables completed (with the exception of replacing one of the vertical timbers at the back corner), the next stage of the renovations will be to replace the tongue and groove cladding at the other end of the building. After that the back of the building will need to be re-clad and then we can move onto the interior of the building and making it more useful as storage and a workship.